Skip to Main Content

Patron Records and Checking Out Items
- Log into Alma, and select the appropriate Circulation location.
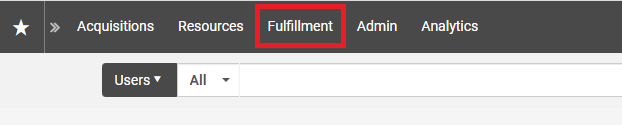
- At the top of the main Alma screen, select "Fulfillment".
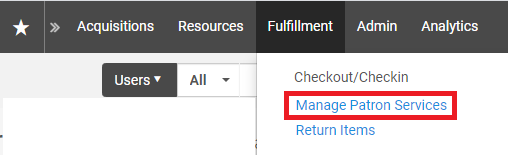
- From the resulting drop-down menu, under Checkout/Checkin, select "Manage Patron Services".
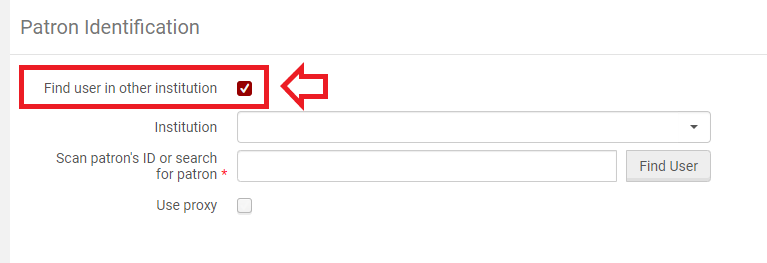
- The Patron Identification screen will open.
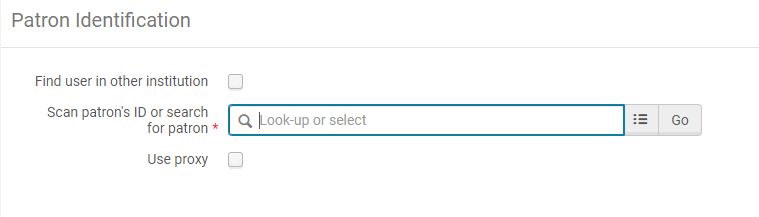
- At this point patron records can be brought up three different ways:
- scanning the patron's identification card barcode;
- looking up the patron by name; or
- looking up the patron by identification number.
- If the patron is an HCC Student, proceed to step 7.
If the patron is from another I-Share institution, check the "Find user in other institution" box and proceed with the steps outlined below.
- Click on the drop-down arrow on the right of the "Institution" box to display the list of options.
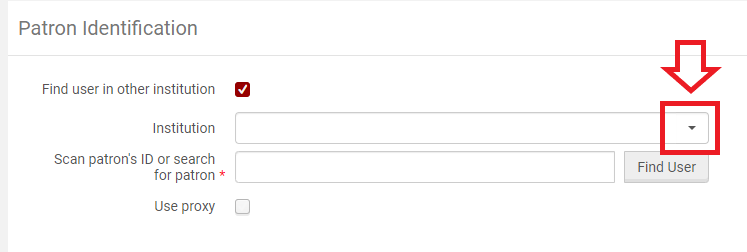

- Select the appropriate institution from the list.
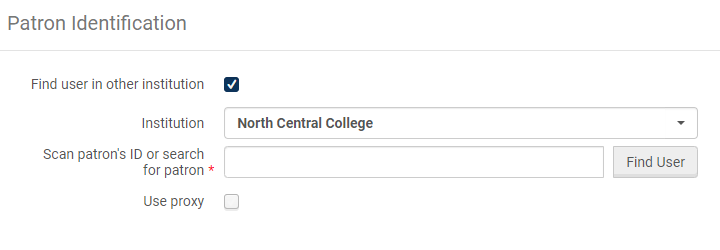
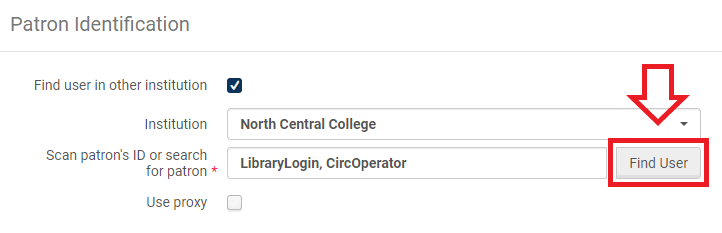
- Enter the patron's name or identification number and select "Find User".
Please note:
- When searching for patrons from another institution, the name or ID number must match exactly and cannot apply to more than one account at that institution.
- If the patron has a common name, you will need to enter an ID number instead (Primary ID, Institution ID, or Barcode).
- If the I-Share patron already has a user record saved to your Institution Zone, their record open automatically to the Loans tab and you can proceed to step 7.
If the I-Share patron does not have a user record saved, the Quick User Management screen will open.
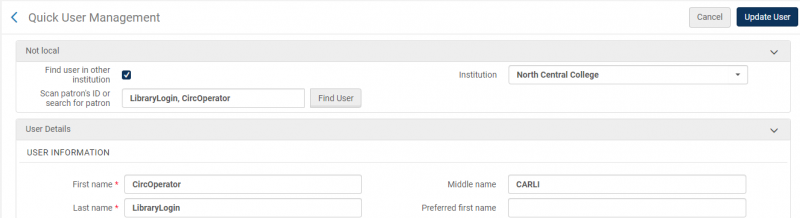
- Many fields may auto-populate, but make sure that all fields marked with a red star
 have been filled out correctly.
These required fields include:
- First name
- Last name
- Primary identifier
- User group
- Expiration date
- Purge date
- Email types
- Address types
- Address line 1
- City
- State/Province
- Postal code
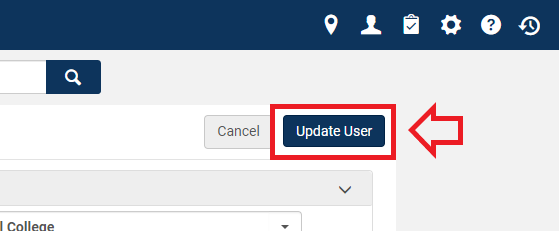
- Click on the "Update User" button.
- The patron record will automatically open to the Loans tab.
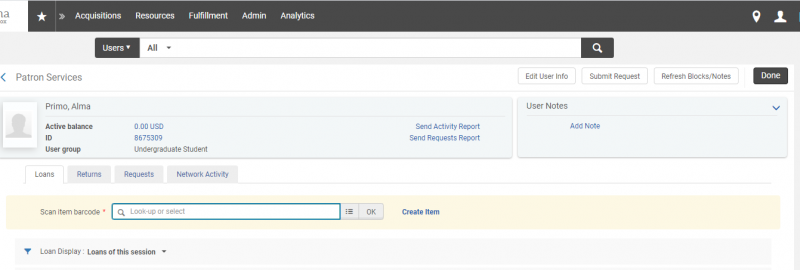
- At this point items can be checked out to the patron by:
- scanning the item's barcode;
- manually entering the item's barcode; or
- looking up the item in the catalog.
- After selecting the item and entering/pressing OK, item is now checked out to the patron.
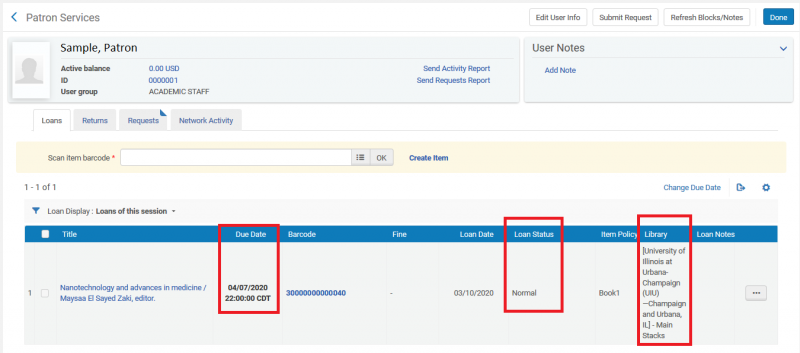
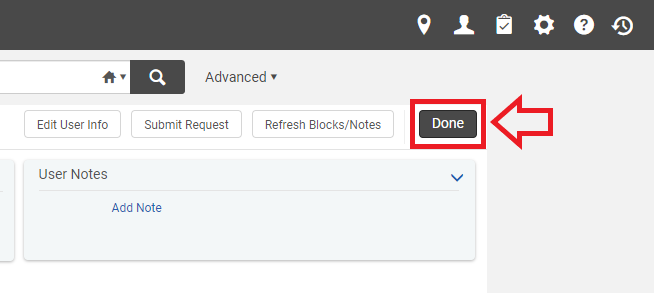
- When you are finished checking items out to the patron, click the "Done" button.