Skip to Main Content

WHEN TO SEND AN ITEM TO THE HOLD SHELF
WHEN TO SEND AN ITEM TO THE HOLD SHELF
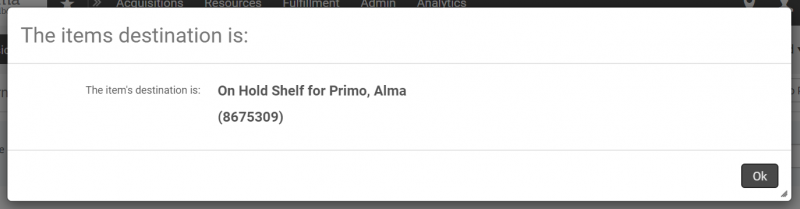
- If an item has a hold on it, during check in a pop-up will appear alerting you that the item needs to go on the hold shelf.
The hold status will also be displayed on the Manage Item Returns screen.
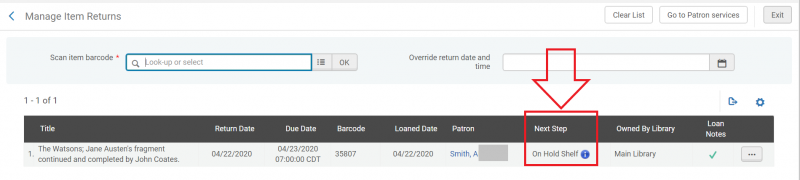
- Place the item on the hold shelf in accordance with your institution's policies.
MANAGING ACTIVE HOLDS
MANAGING ACTIVE HOLDS
- To view and manage active item holds, select "Active Hold Shelf" from the Fulfillment menu.
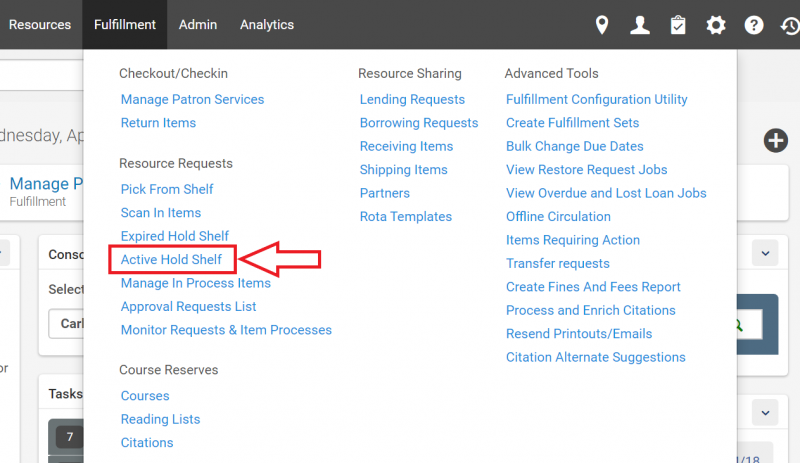
- The Active Hold Shelf Items screen will open. Actions you can take from this screen include:
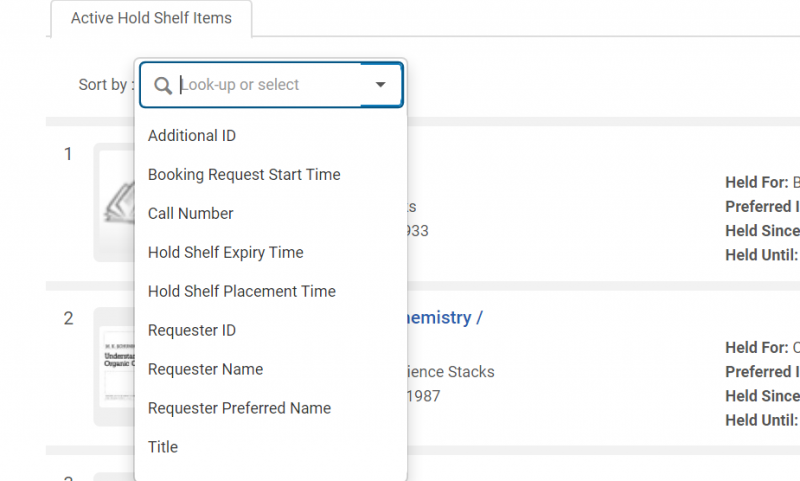
- Sorting the list of items on the hold shelf.
- Click on the drop down arrow included in the "Sort by" field.
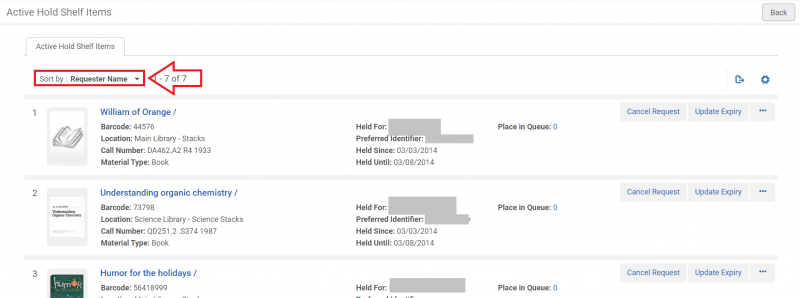
- Select your preferred sort order from the menu.
- Canceling hold requests.
- To cancel a hold, click on the "Cancel Request" button in the item listing.

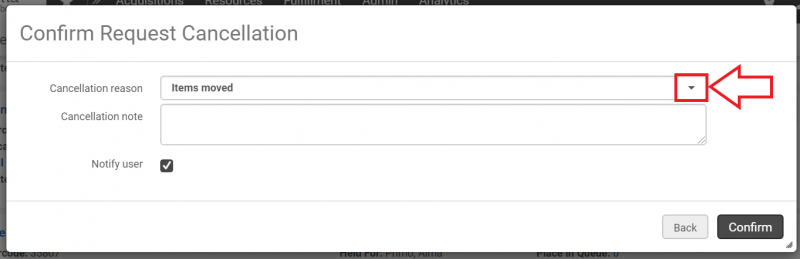
- The Confirm Request Cancellation pop-up will appear. Click the drop down arrow located in the "Cancellation reason" field.
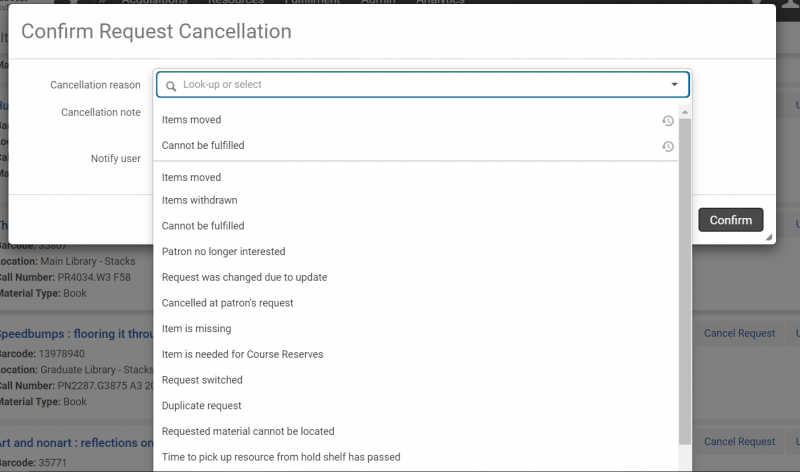
- Select the reason for cancellation from the drop down menu.
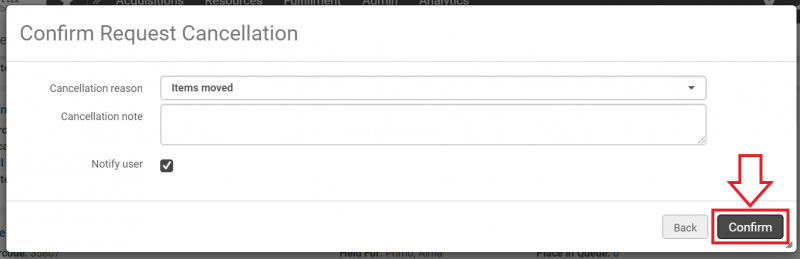
- If appropriate, add a cancellation note or uncheck the "Notify user" box. Click the "Confirm" button.
- Changing hold expiration dates.
- To change an expiration date, click on the the "Update Expiry" button in the item listing.

- The Update Expiration Date screen will appear. Enter the new date into the "Expiration Date" field, or click on the calendar button to deploy the calendar drop down for your selection.
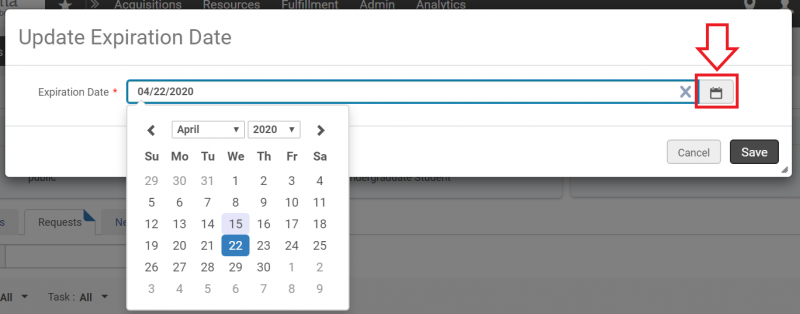
- Click the "Save" button.

- Marking a held item as missing.
- To mark an item on the hold shelf as missing, click on the "More Actions" ellipsis.

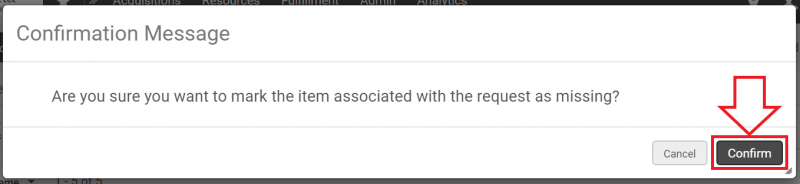
- Click on "Mark as Missing".

- A Confirmation Message pop-up screen will appear. Click the "Confirm" button.
MANAGING EXPIRED HOLDS
MANAGING EXPIRED HOLDS
- To view and manage expired holds, select "Expired Hold Shelf" from the Fulfillment menu.
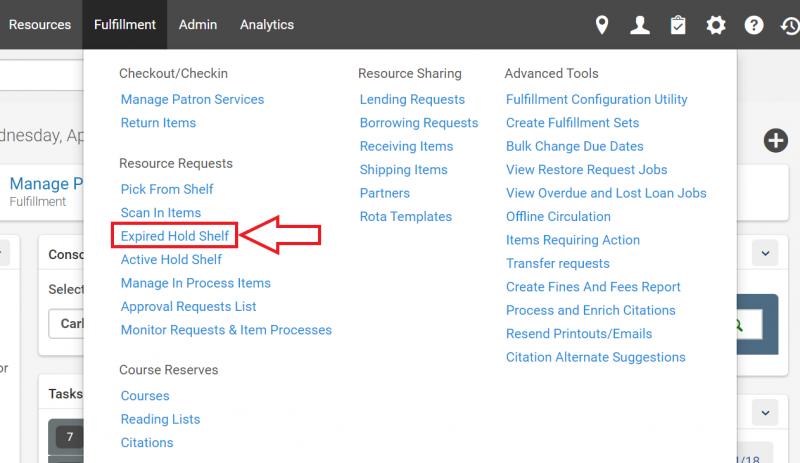
- The Expired Hold Shelf Items screen will open. Actions you can take from this screen include:
- Sorting or filtering items. You can click on options under "Facets" or choose an option from the "Sort by" drop down menu to filter or sort the items that have expired on the hold shelf.
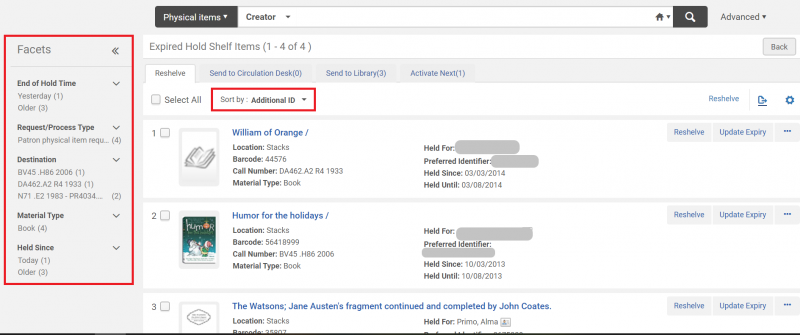
- Sending items to be reshelved. Items that are expired and can be reshelved are found under the "Reshelve" tab. To convert an item's location status in Alma from the hold shelf to in place, there are two methods:
- Clicking the "Reshelve" button for each item you wish to remove from the hold shelf.
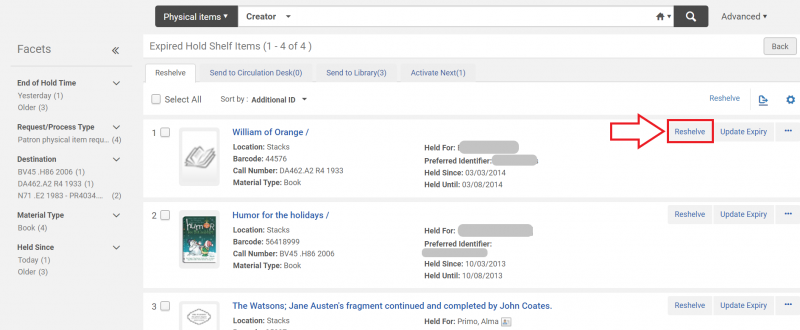
- Clicking the "Select All" box or the individual item selection boxes, and then clicking the "Reshelve" option located above the list of items.

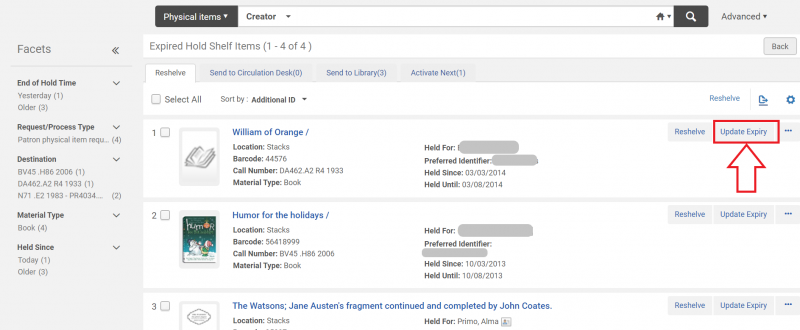
- Updating the expiration date. You can extend an item's stay on the hold shelf by clicking the "Update Expiry" button and choosing a date sometime in the future.
- Editing the item hold, marking the item as missing, or viewing the audit trail. These options can be found in the drop down menu deployed by clicking on the ellipsis.

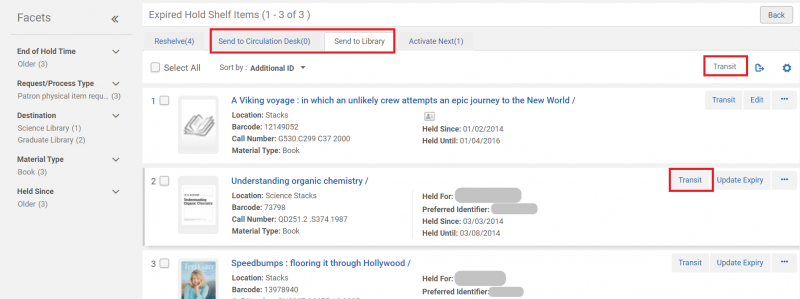
- Forwarding items to another circulation desk or library. If an item has expired on the hold shelf and should be forwarded to another circulation desk or library, it will appear under the "Send to Circulation Desk" or "Send to Library" tabs. This function operates in a manner similar to the Reshelve function, but in this case you will click "Transit" instead of "Reshelve".
- Activating the next hold on an item. If an item on the hold shelf has other patrons waiting for it to become available, it will appear under the "Activate Next" tab. This function operates in a manner similar to the Reshelve function, but in this case you will click "Activate Next" instead of "Reshelve".

