Skip to Main Content

REQUESTING AN HCC ITEM FOR A PATRON
REQUESTING AN HCC ITEM FOR A PATRON
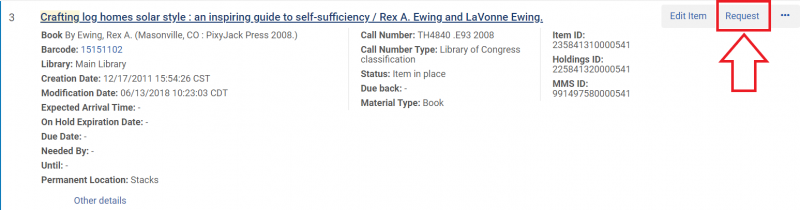
- Search for the item using the persistent search bar.

- Once you find the item the patron would like to request, click on the "Request" button.
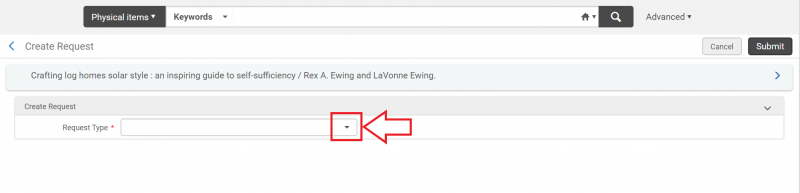
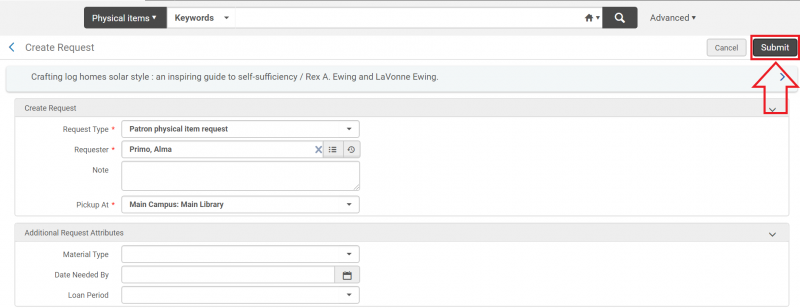
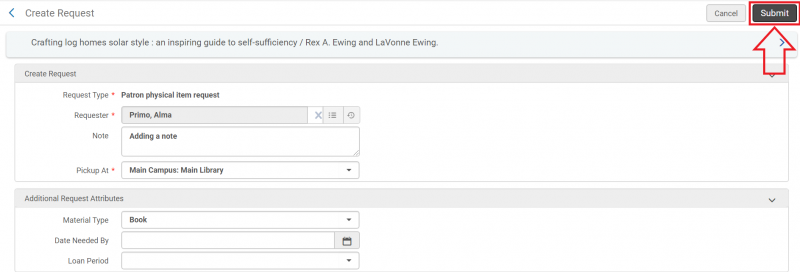
- The Create Request screen will open. Click on the "Request Type" drop down arrow.
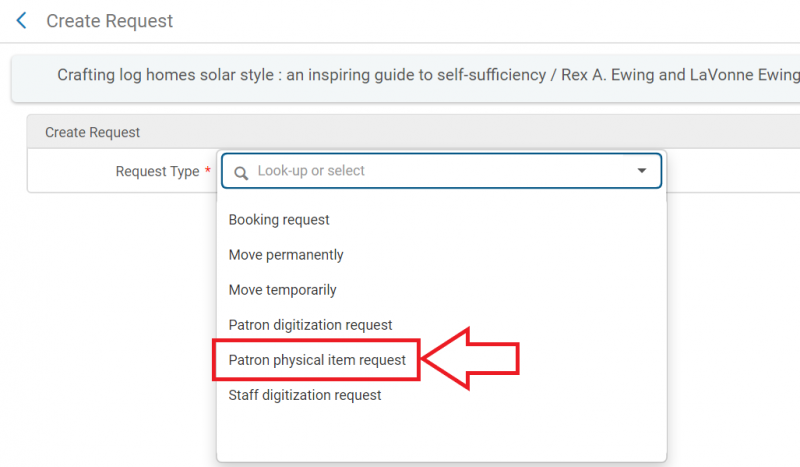
- Select "Patron physical item request" from the drop down menu.
- More fields will appear in the Create Request screen. Fill out the "Requester" and "Pickup At" fields, along with any other fields appropriate for the request.
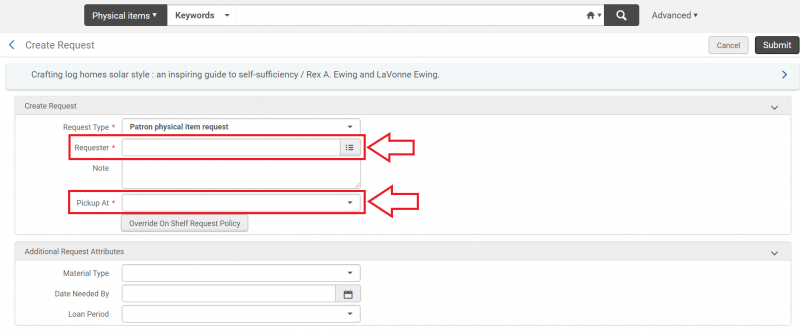
- Click the "Submit" button.
EDITING OR CANCELING A PATRON REQUESTS
EDITING OR CANCELING PATRON REQUESTS
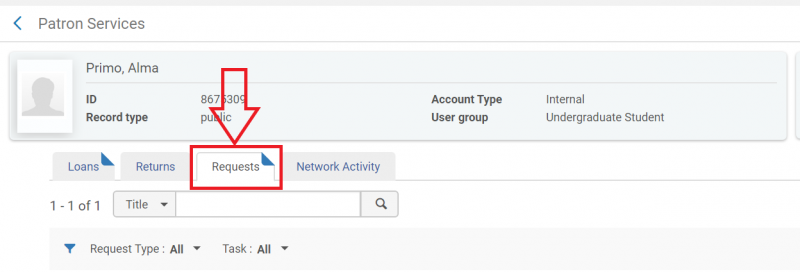
- Navigate to the Patron Services screen as if you were going to check out items to the patron, then click the "Requests" tab.
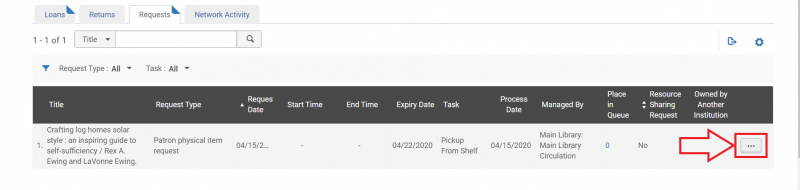
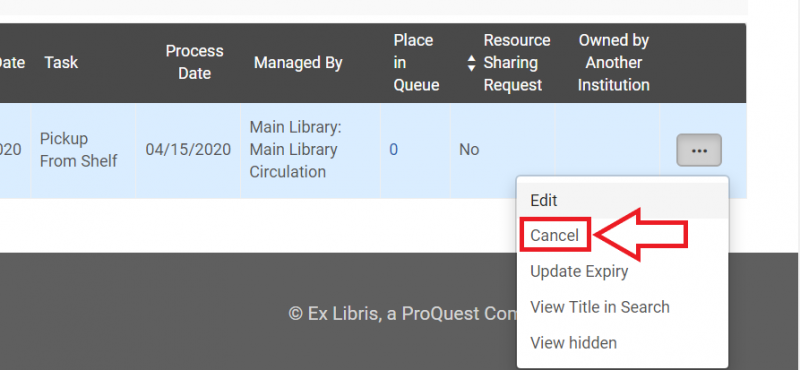
- For the item request you wish to work with, click the ellipsis. A drop down menu will appear.
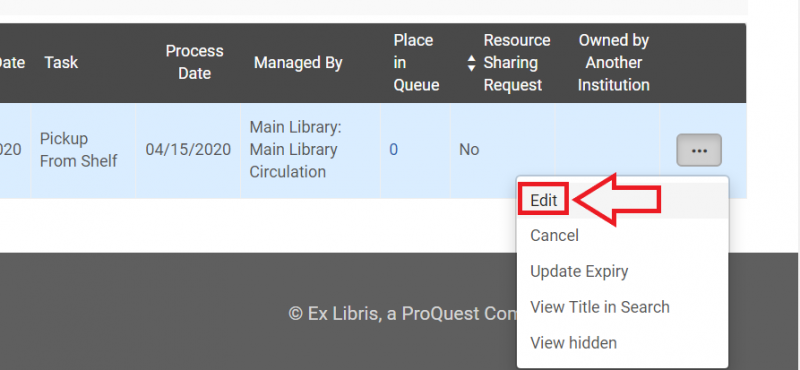
- To Edit
- In the drop down menu, click "Edit".
- The Create Request screen will open. Make any necessary changes, then click the "Submit" button.
- To Cancel
- In the drop down menu, click "Cancel".
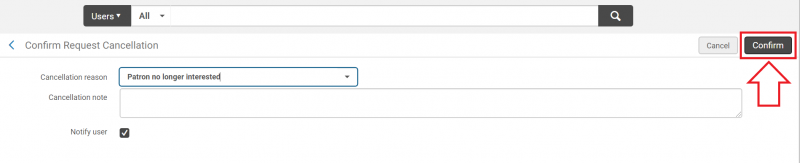
- The Confirm Request Cancellation screen will open. Click on the drop down arrow found in the "Cancellation reason" field to deploy a menu of reasons for cancellation.

- Select a reason for cancellation from the menu.

- If desired, add a cancellation note or uncheck the "Notify user" box. Click the "Confirm" button.
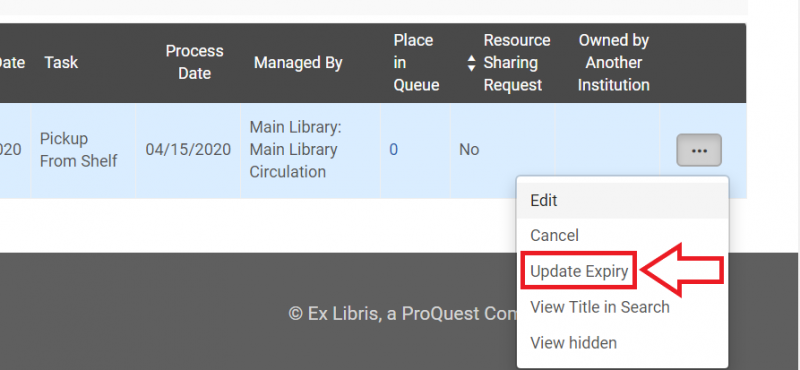
- To Update Expiry
- In the drop down menu, click "Update Expiry".
- The Update Expiration Date screen will appear. Enter the new date into the "Expiration Date" field, or click on the calendar button to deploy the calendar drop down for your selection.
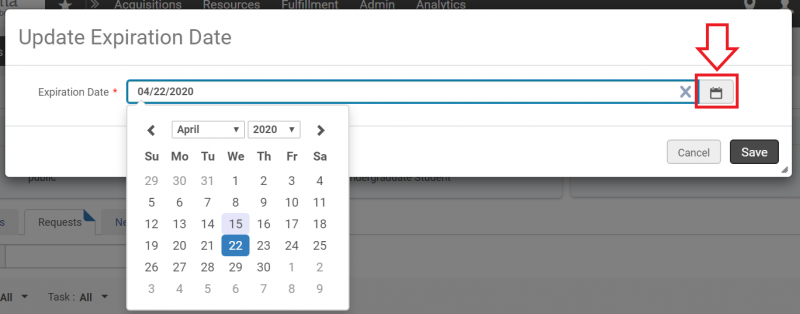
- Click the "Save" button.

