Skip to Main Content

Alma Fulfillment

CHECKING IN ITEMS FOR MULTIPLE PATRONS


CHECKING IN ITEMS FOR MULTIPLE PATRONS

  1. Navigate to Fulfillment > Return Items.
    An image of the main Alma screen with the Fulfillment menu deployed and "Return Items" highlighted
  2. The Manage Item Returns screen will open and you can then scan or enter items to be returned.
    An image of the Manage Item Returns screen
    1. If you would like to credit items as having been returned at an early date or time, enter the preferred date/time in the "Override return date and time" field or click on the calendar icon, choose a date and/time, and click "Apply".
      An image of the "Override return date and time" field with the calendar drop down menu deployed and the calendar and "Apply" buttons highlighted
      This check in date/time will apply to items being returned until you click on the "X" in the "Override return date and time" field to revert to the current values.
      An image of the "Override return date and time" field with the "X" highlighted 
    2. If your workstation is used by multiple people or is in a location where the screen may be seen if you step away, for the sake of patron privacy you may wish to clear the list of returned items without exiting the check in screen. To do this, click on the "Clear List" button.
      An image of a portion of the Manage Return Items screen with the "Clear List" button highlighted
  3. When you are finished checking in items, you can navigate to a different screen or click on the "Exit" button.
    An image of a portion of the Manage Item Returns screen with the "Exit" button highlighted


CHECKING IN ITEMS FOR A SINGLE PATRON

CHECKING IN ITEMS FOR A SINGLE PATRON

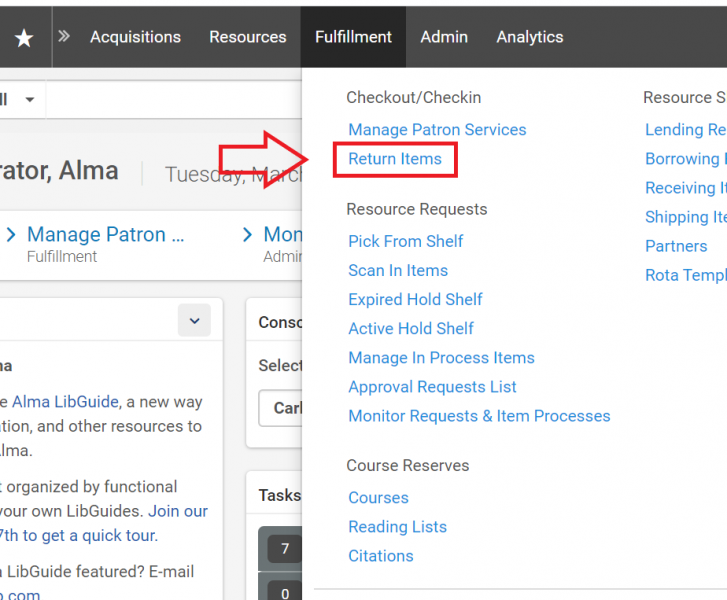
  1. Navigate to Fulfillment > Manage Patron Services to bring up the Patron Identification screen, then look up the patron's record.
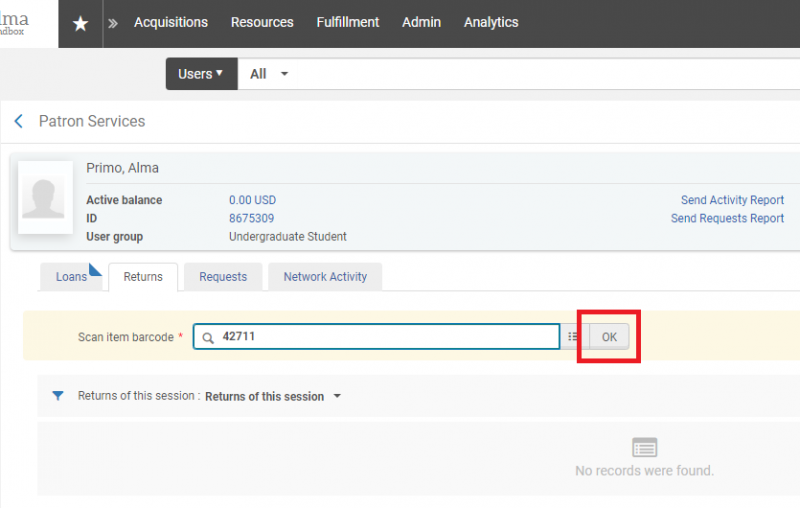
  2. On the resulting Patron Services screen, select the "Returns" tab.
    An image of the Patron Services screen with the "Returns" tab highlighted
  3. Scan the item barcode, or enter it manually and click "OK".
    An image of the Patron Services screen with the "Returns" tab engaged, a barcode entered, and the "OK" button highlighted
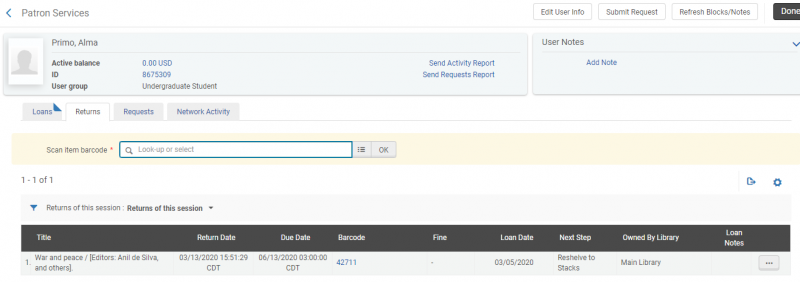
  4. Successfully checked in items will be listed below "Returns of this session".
    An image of a Patron Services screen displaying a successful check in
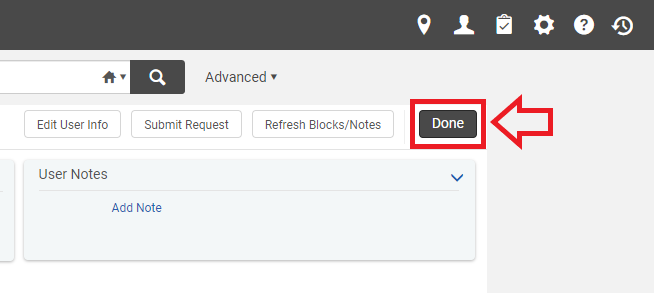
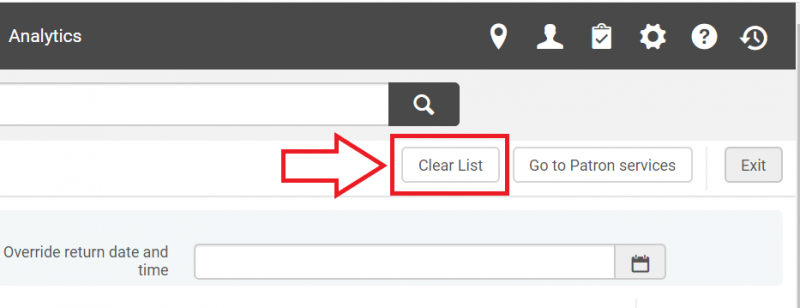
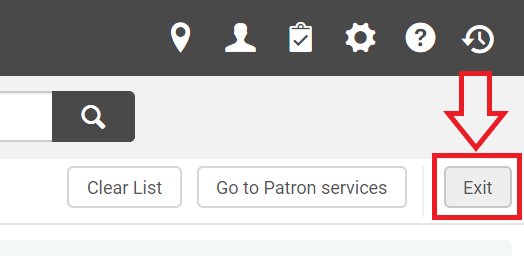
  5. When you have finished checking in items, you may either continue to other tasks within the patron record, or click the "Done" button to exit.
    An image of a section of the Loans screen with the "Done" button highlighted