Skip to Main Content

Adding a Patron
- To add a patron to the database, navigate to Fulfillment > Manage Patron Services to bring up the Patron Identification screen.
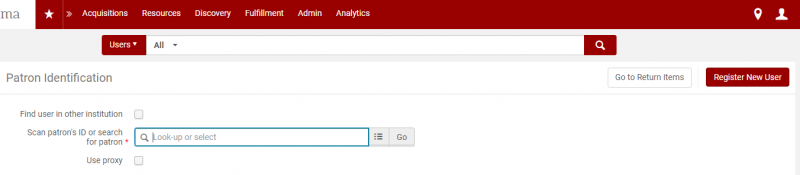
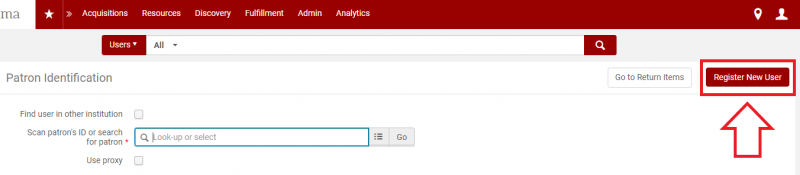
- Click on the "Register New User" button.
- The Quick User Management Screen will open.
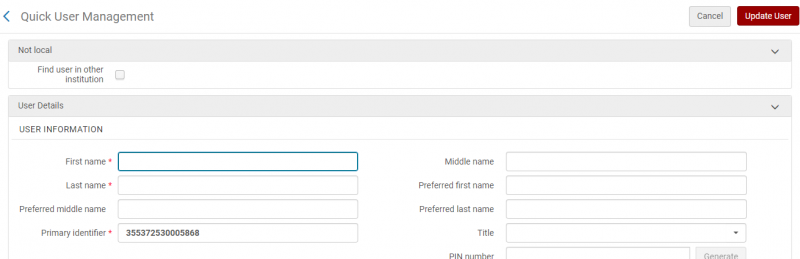
- Fill out all fields marked with a red star:
 . These required fields include
- First name
- Last name
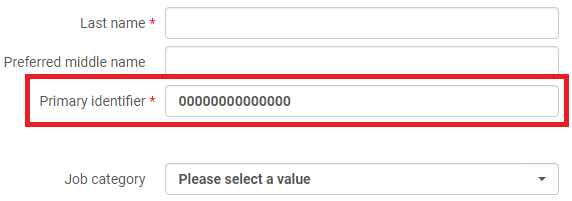
- Primary identifier
- Students MUST use their HCC ID number
- Community Users should use their 10-digit telephone number without dashes
- User group
- Expiration date
- Purge date
- Email types
- Email address
- Address types
- Address line 1
- City
- State/Province
- Postal code
- If the patron will not be included in future Student Information System (SIS) uploads, skip to step 6. Examples of this type of patron include alumni, community members, and internal accounts for library staff. If the patron will be included in future SIS uploads (i.e. students, faculty, or staff who have joined the institution since the last upload), continue with step 5.
- Double check that you have entered data into the "Primary identifier" field correctly. This is important because this is the field that the SIS uploads use to match patron data. **Students MUST use their HCC ID number**
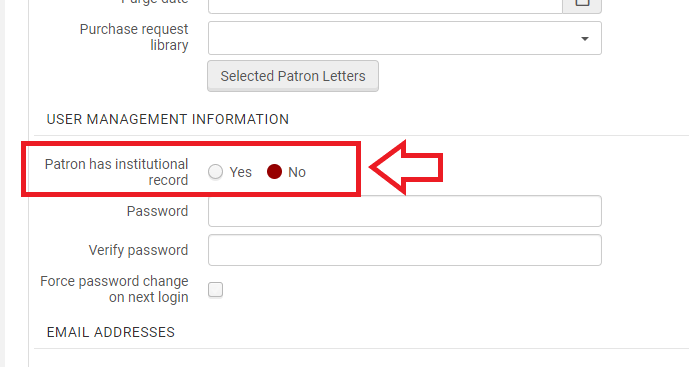
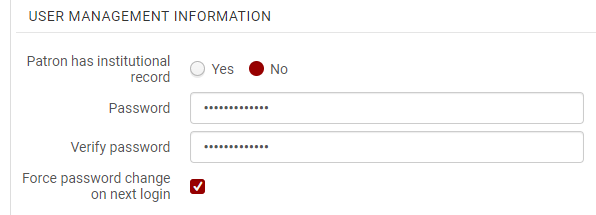
- Navigate to the "User Management Information" section.
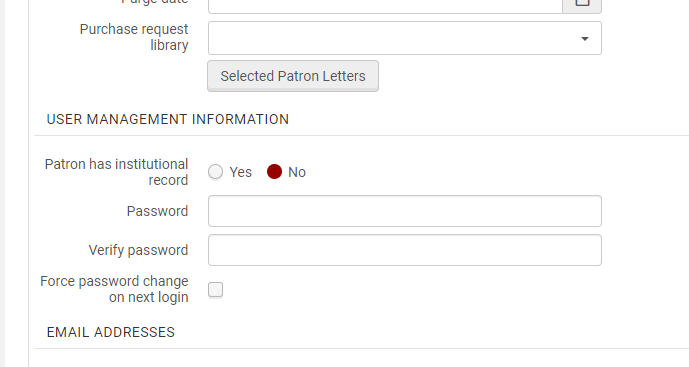
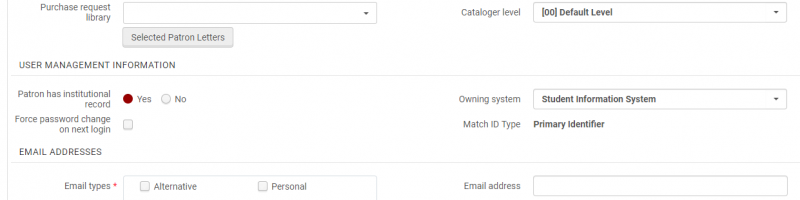
- Change the "Patron has institutional record" from "No" to "Yes".
- The "User Management Information" screen will change. You will not need to change anything. Skip to step 7.
- Patrons who will not be updated by SIS load will need to have a password set for them. Choose a temporary password (changeme) and check the "Force password change on next login" box. They will be able to use this password and their user ID (also known as the Primary Identifier) to log into Primo VE. The Primary Identifier for Community Users should be changed to their 10 digit phone number without the dashes.
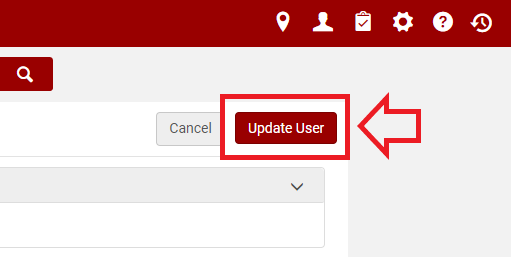
- Click on the "Update User" button.